 Blog Feed
 Facebook
 Twitter
 YouTube
Prop Making – Foam Hammer
Delays, delays, nothing but delays
I have been making steady progress on my prop making. However, a recent April blizzard blew into my neck of the woods. As a result I have spent more time shoveling goat trails through the snow than spending time in the workshop.
April blizzards delay hammer production
Prop Making Progress
Despite the snow and back breaking shoveling I have made some progress. After glueing the two pieces together I was able to draw a basic outline on the foam.
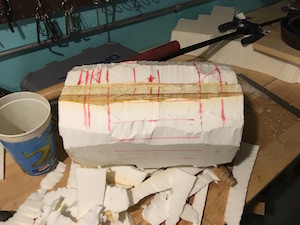
Guidelines drawn on the foam.
Once I had the proportions set I was able to begin whittling down the foam. With each slice I carve and shape the head of the hammer.
The foam is rather dense. While it is great for carving, it can pack a punch with a solid bonk. My plan is to be able to bonk people in the head at events, usually kids. In an attempt to avoid any injury I will be adding some softer foam into the hammer faces to cushion any impact.
While doing my research I found all kinds of carnival mallets and other big wooden hammers. Some hammers were multi colored for sideshow work; others bound in metal; and some just big chunks of wood on a stick. I am really going for a comical cartoony look. I don’t want people to be scared of my hammer, I want them to see it and laugh. So I am taking that into consideration in my design and sculpting. Think Daffy Duck. To see Daffy in action check out one of my favorite Merry Melodies “The Ducksters”.
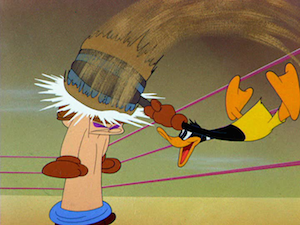
Think Daffy Duck
The next step in the process will be to put that softer foam into the hammer and continue carving. I will also layout some of the tools I use in the process so stay tuned.
Mike